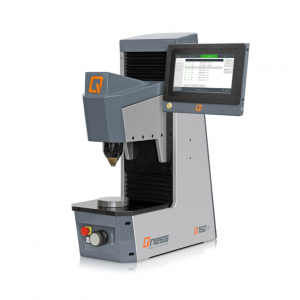
QATM QPIX SOFTWARE CONTROL2
Intuitive, structured and professional
Revolutionary 3D Operation
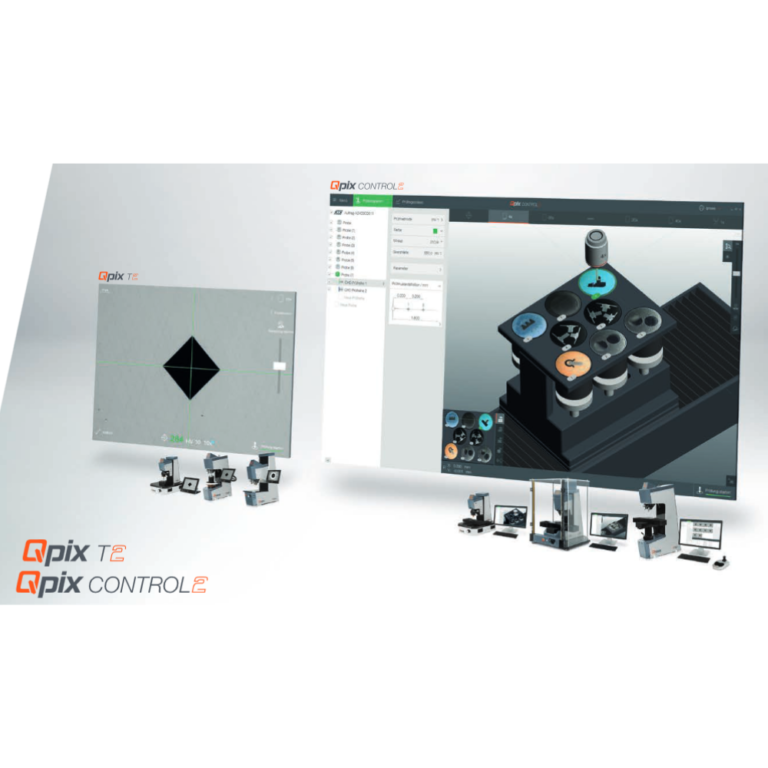
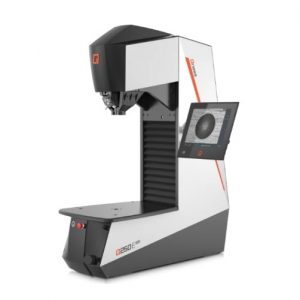
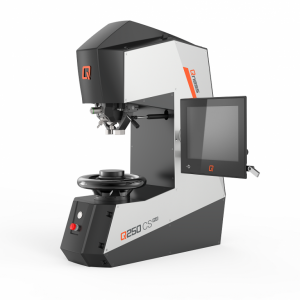
Qpix Control2 heralds a new generation of hardness testing software. It has been developed based on customer input and feedback to guarantee maximum user-friendliness. New standards in hardness testing are now being established thanks to the controlled test head with automatic height adjustment and contact-free gauging, complete integration of the Qness sample holders, CAD compatibility with 3D component imaging and a wide variety of easily comprehensible 3D control elements and view angles within the software.
Innovative CAS technology (Collision Avoidance System) protects the mechanical components in the device from collisions and operating errors by generating 3D preview calculations of all movements in the visualized testing area.
Load samples, load row, start
3 Steps to the result
1. Load samples
The machine moves automatically to sample holder height. Image of sample is taken automatically.
2. Load row
SRS – Speedy Row Set-up: Drag the row of test points to the desired position. The serial Auto-Snap function corrects the starting point of the test row automatically.
3. Start Test Sequence
The test sequence is executed according to the applicable hardness testing standards.
Unlimited possibilities with a comprehensive range of serial features
Multiple and diverse samples
Simple management of several samples at the same time even with a variety of sample types in a single mould.
Clearly structured Template Management
Graphic presentation of stored templates with compre-hensively detailed descriptions and freely selectable guidelines.
CHD/SHD/NHD with Optimum stop
Time-saving test mode ‘Complete all indentations – then evaluate’ and ‘Optimum Stop’ to complete test series as soon as the lower hardness limit has been undercut.
Welding Sample Tools
Points along – and parallel to – a polygon line, test point marking and guide circles for exact test point positioning in the heat affected zone of the welded sample.
Sinter Functions
Grouping of test points to gain averages and deletion of anomalies in hardness profiles.
Predictive calculation of test points
Displays the expected indentation size to simplify positi-oning and provides graphic warning when test points are closer than the normed minimum distance.
Panorama Image Function
For sample image camera and measurement camera. Crystal clear sample images, from very small to extremely large test items. Automatic imaging can be programmed for before and after test sequence completion.
Professional Data Management
Configurable protocol and data presentation. Wide range of structuration options for stored test item data. Adaptable content for export files and protocol content simplifies daily operation with Qpix Control2 software.
Advanced Test Block Management
Redefining calibration result management: The Qness Calibration Manager can be set up to provide users with reminders of necessary checks at selected intervals. Test results can be added to the ongoing statistical profile at the push of a button.
Edge Recognition, Contour Scan, Intelligent options
Edge Recognition
Working with program templates and the edge recognition software module makes fine-positioning of test rows irrelevant. The machine moves to the start points automatically and corrects their positions before the test sequence is started.
Contour Scan
Users can choose whether to approach the entire section or a partial segment of a contour. The measurement lens scans the entire route and stores all data in the program. Subsequently, a chosen number of the test points can be programmed into the system, or at chosen distances, relative to the edge. This programming enables the hardness testing sequence to be conducted completely automatically.
2D/3D Mapping
Distribution of hardness across segments or entire surfaces of heat treated components. Coloured graphic representation in 2D and freely rotatable 3D views of the sample image.
4K/ultra high definition and 18-megapixel color camera
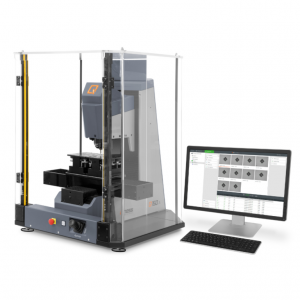
Qpix Control2 supports 4K/Ultra High Definition imaging and the new 18-megapixel USB 3.0 colour camera system for crystal clear images of operating surface and indentations. The versatile software basis adapts to every monitor and 4 standard zoom steps expand the scope of lens operation. Control via Qness high-end PC or via a PC system supplied by the customer.
For more information visit QATM website.
Jus taip pat gali dominti
QATM Model CHD Master+ : multiple sample, mapping, welding samples
Test Methods and Force Application Q10 CHD Master+ Q30…
IšsamiauQATM Model CHD Master – Fully Automatic, Economically, Up-To-Date
Test Methods and Force Application Q10 CHD Master Q30…
IšsamiauQATM 60 A/A+ EVO, Micro Hardness Tester
The Brinell / Knoop / Vickers hardness tester series Qness…
IšsamiauQATM hardness tester Version M EVO: Ideal for large samples
The fixed component support and the extra-large test table area…
IšsamiauQATM hardness tester Version E EVO: All work piece sizes and large clamping forces
Test Force Range Q250 E Q750 E Q3000 E…
IšsamiauQATM hardness tester CS/C EVO: Ideal for small samples
The characteristic “C” shaped machine frame gives the CS and…
IšsamiauQATM Rockwell hardness tester 150 RCS
Features Extremely fast hardness testing cycle – under 3 seconds…
IšsamiauQATM Rockwell hardness tester 150 CS ECO
QATM configures the Rockwell hardness tester Qness 150 CS ECO…
IšsamiauQATM Rockwell hardness tester 150 A/A+
1. Pipe testing Check pipes economically with the Rockwell hardness…
IšsamiauQATM Rockwell hardness tester 150 R
1. on 10,1″ Touch-Screen Most simple operation High-quality and sturdy aluminium…
Išsamiau
